So having just a single thin sheet of acrylic to support our stepper motor and drive belt isn't good enough, and we need to add some braces to the acrylic to stop it from deflecting when the belt is under tension.
What we need is some "sides" on our stepper not-yet-an-enclosure.
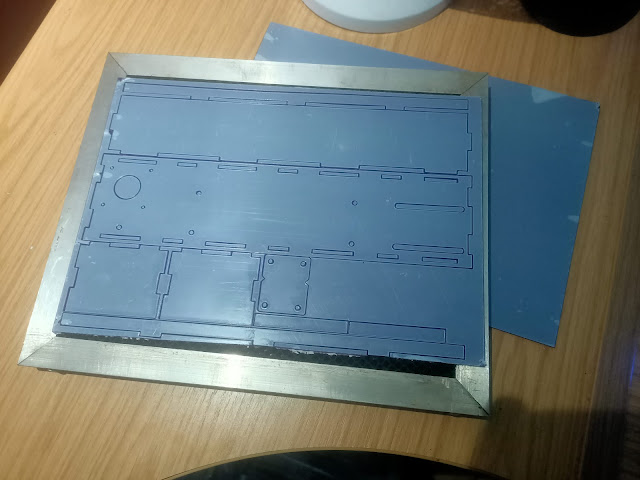
We had some A4 sheets of 3mm acrylic knocking around (it's been hanging about for years) so threw together some designs in Inkscape and set the old laser cutter going again
Talk about cutting it fine! We just about got everything cut from a single sheet of A4. (ok, everything bar one side piece - but we managed to squeeze an awful lot onto a single A4 sheet!
We assembled the box shape and fitted the stepper motor inside
At the other end (and mostly because we couldn't be certain of exact dimensions when first designing our race track, before the continuous loop belts had arrived) we fitted the two bearings to a sliding "carriage".
The carriage is fitted to the "box lid" through two long slots (and some more tapped and threaded holes directly in the acrylic carriage material). This way we can wrap the belt around the bearings and the pulley on the stepper motor, then slide the far bearings away from the motor, adding more (or less) tension to the belt, as required.
With everything installed and the bearings set to the correct distance, we gave our belt a quick test, to make sure it could rotate around the bearings freely. Everything was working well. The plastic no longer had any flex in it, the belt was perfectly horizontal, and no matter how many times we span it around and around, the belt never once tried to work itself up and over the tops of the bearings.
Now we needed to find a way to fix some magnets to the belt in such a way that they could move freely, in close contact with the "lid" (yet to be fitted) but without them getting snagged or tangled up with the bearings/pulley.
We couldn't clip anything over the belt (since it would eventually run over the bearings or get snagged in the pulley on the stepper motor). But - as currently set up - nothing ever comes into contact with the outside face of the belt.
We figured we could glue some little "brackets" to the outside face of the belt, and add our magnets to these. A little bit of bent solid-core wire was just the job!
Superglue on drive belts isn't a brilliant idea - we've already had experience of it failing, when we made our own belt-loop, made by super-gluing the end edges of a single length of T2.5 belt together, then reinforcing with some plastic, superglued across the join.
The problem with superglue is that it makes a "stiff" section in the belt.
But our solid core wire is barely 1mm thick. So the amount of surface area affected by the superglue will be very small.
Once we'd got our "wire brackets" fixed to opposite corners of the belt, we superglued a 5mm disc neodymium magnet onto each one (making sure to use similar polarities for ease of use later). With the magnets fixed to opposite corners of the belt, rotating it caused the two magnets to appear to travel towards each other, until they passed each other, somewhere near the middle of the track.
Everything looks like it's going to plan. Just one last test to try out - the big one. The one that will tell us whether this entire project will even work or not!
The idea is to place two knights on horseback on top of this belt - each knight having a magnet in his base. As the belt spins, under the playing surface, so the magnets with travel around the outside of the circuit, described by the belt. And if our tabletop miniatures also have magnets in them (presuming we've fitted them with the correct polarity) then we should be able to get our knights to travel towards each other (for each round of the jousting competition) then away to tournee around the rail and prepare for their next charge.
The big question is - as a concept, would these even work?
And here's the final result.
A playing surface, on which two magnets appear to travel, completely without restrictiom.
It looks like we might be on to something after all....


No comments:
Post a Comment